

How I Grow Ranunculus in Missouri (Zone 7): A Step-by-Step Guide
While ranunculus are a little trickier to grow than some of the “plant it and forget it” Spring flowers like daffodils and tulips, they can actually thrive in Missouri (Zone 7) with a little planning and protection. Here’s how I grow ranunculus successfully from corms each winter.
Step 1: Soak the Corms
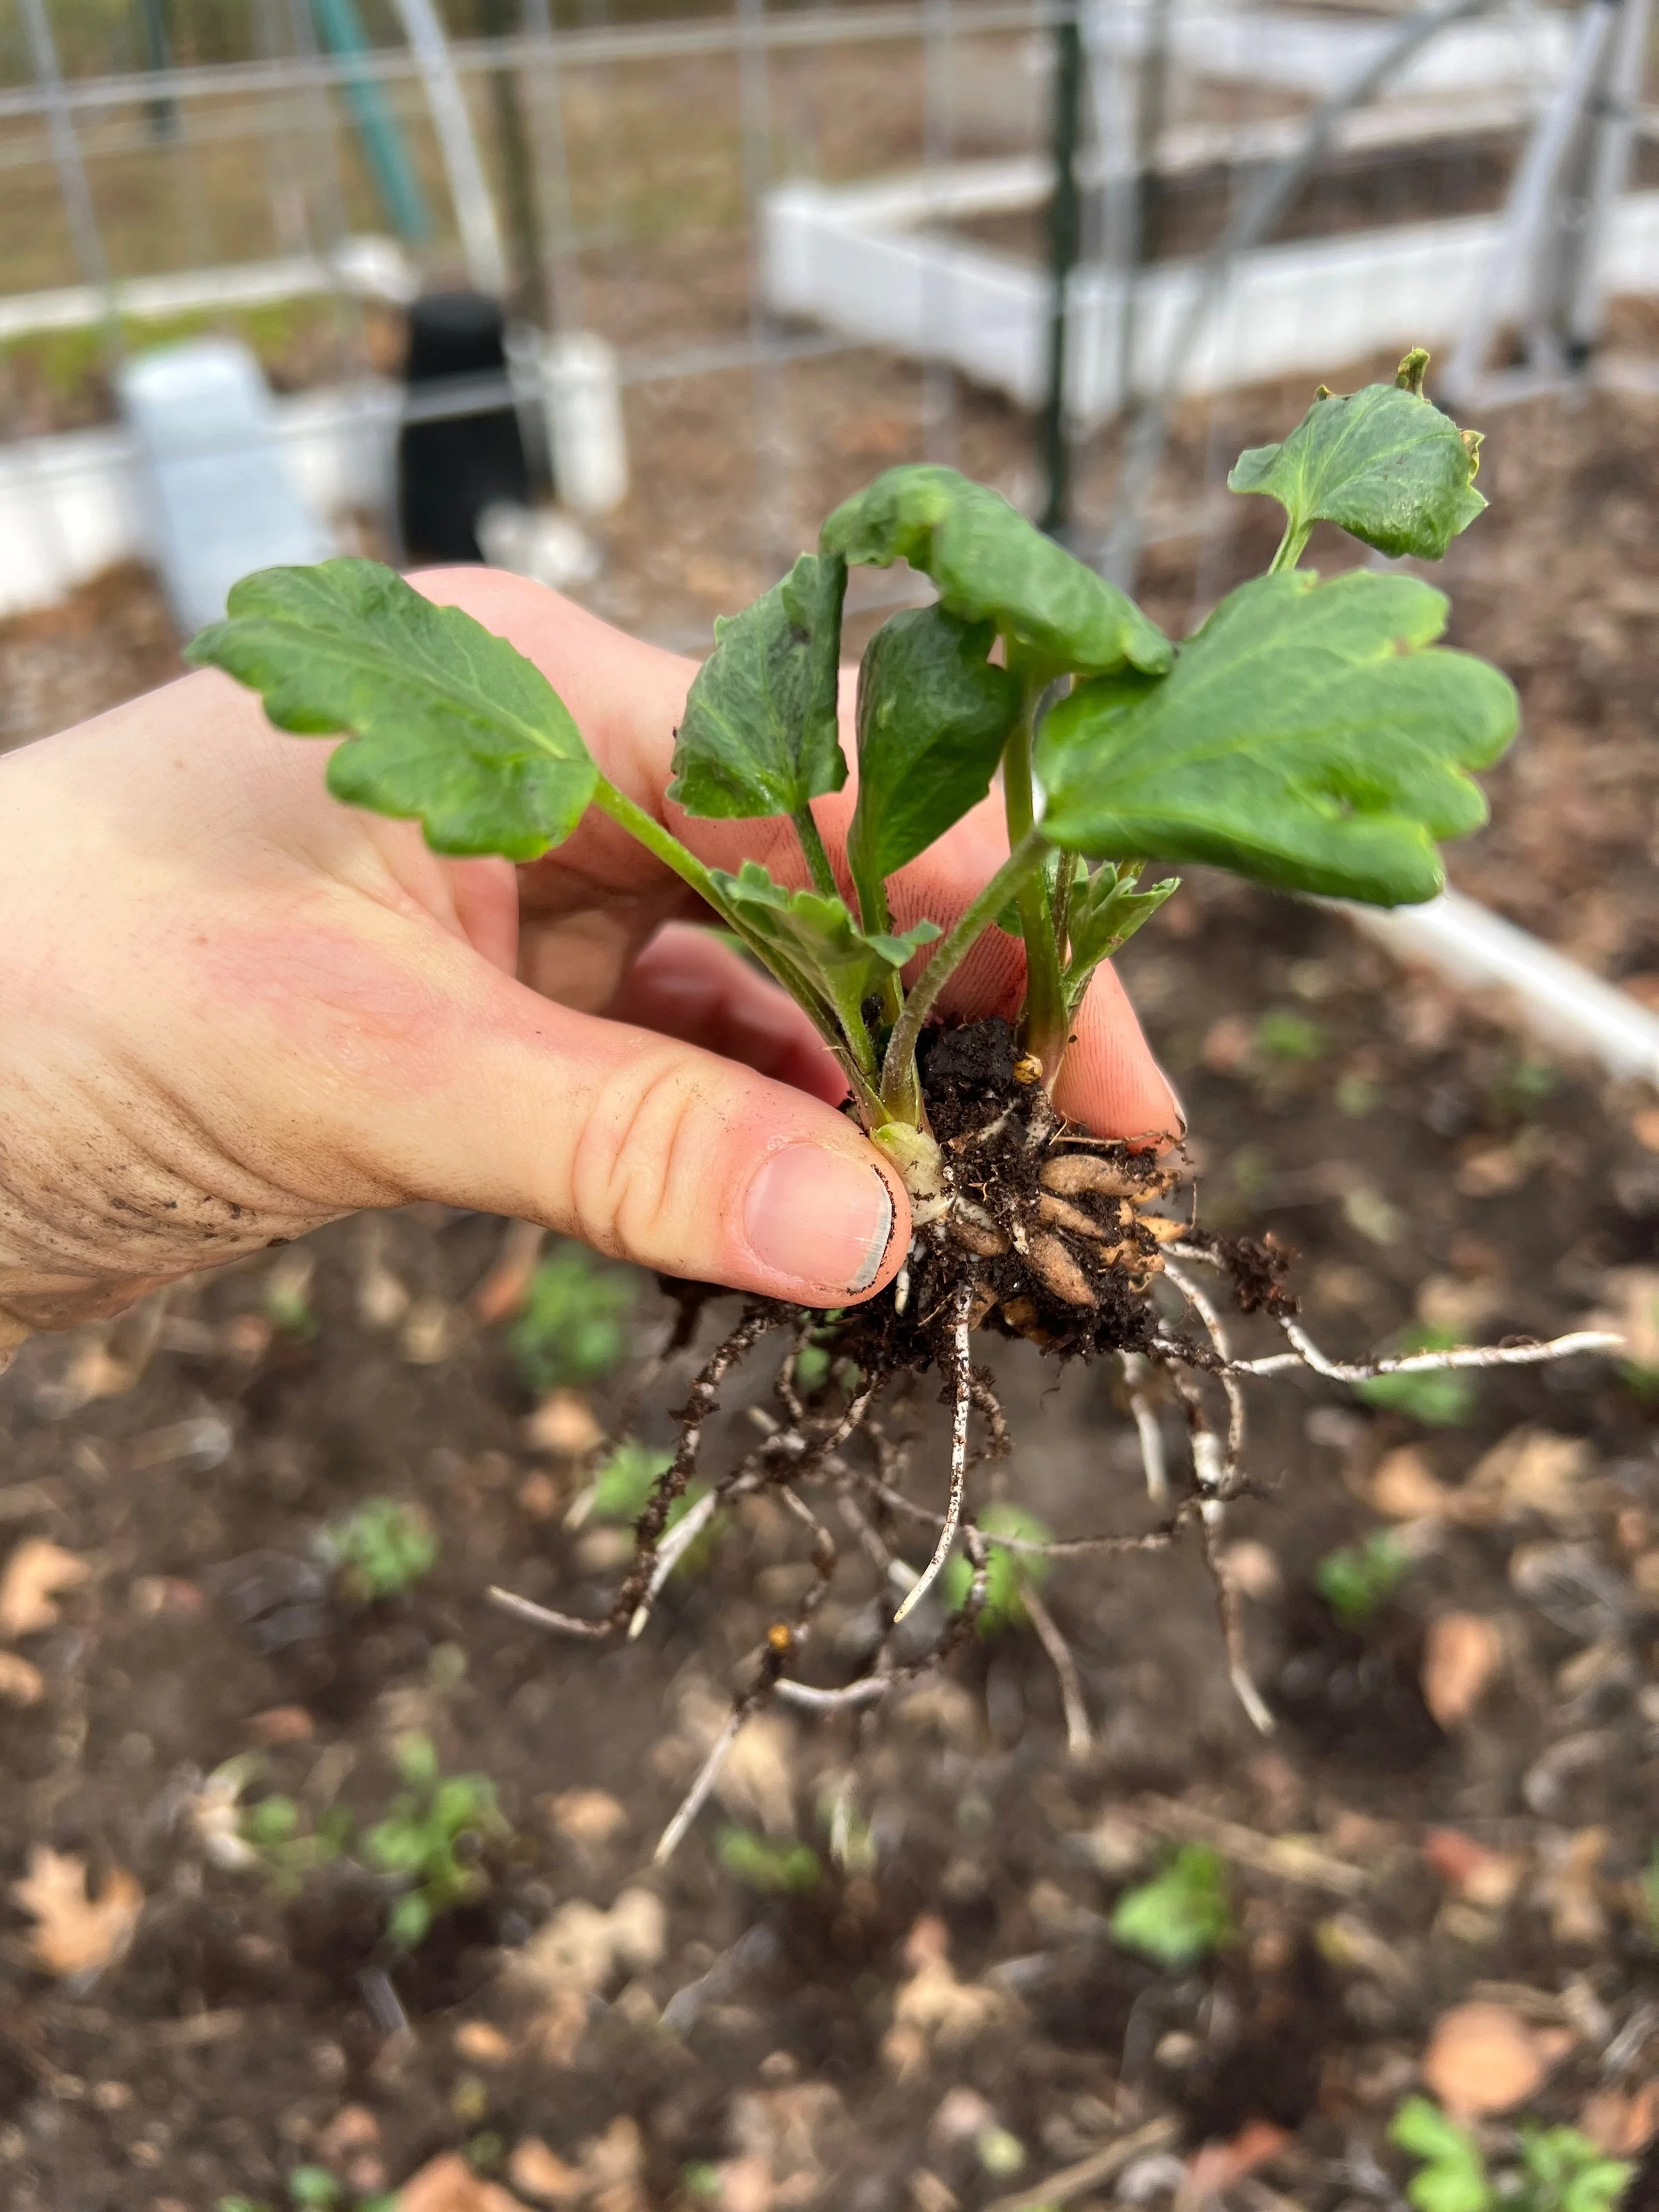
In December or January, I start by soaking the corms in room-temperature water for about two hours. This helps rehydrate them and gives them a jumpstart before planting. You’ll notice the corms plump up a bit as they absorb moisture - that’s exactly what you want.
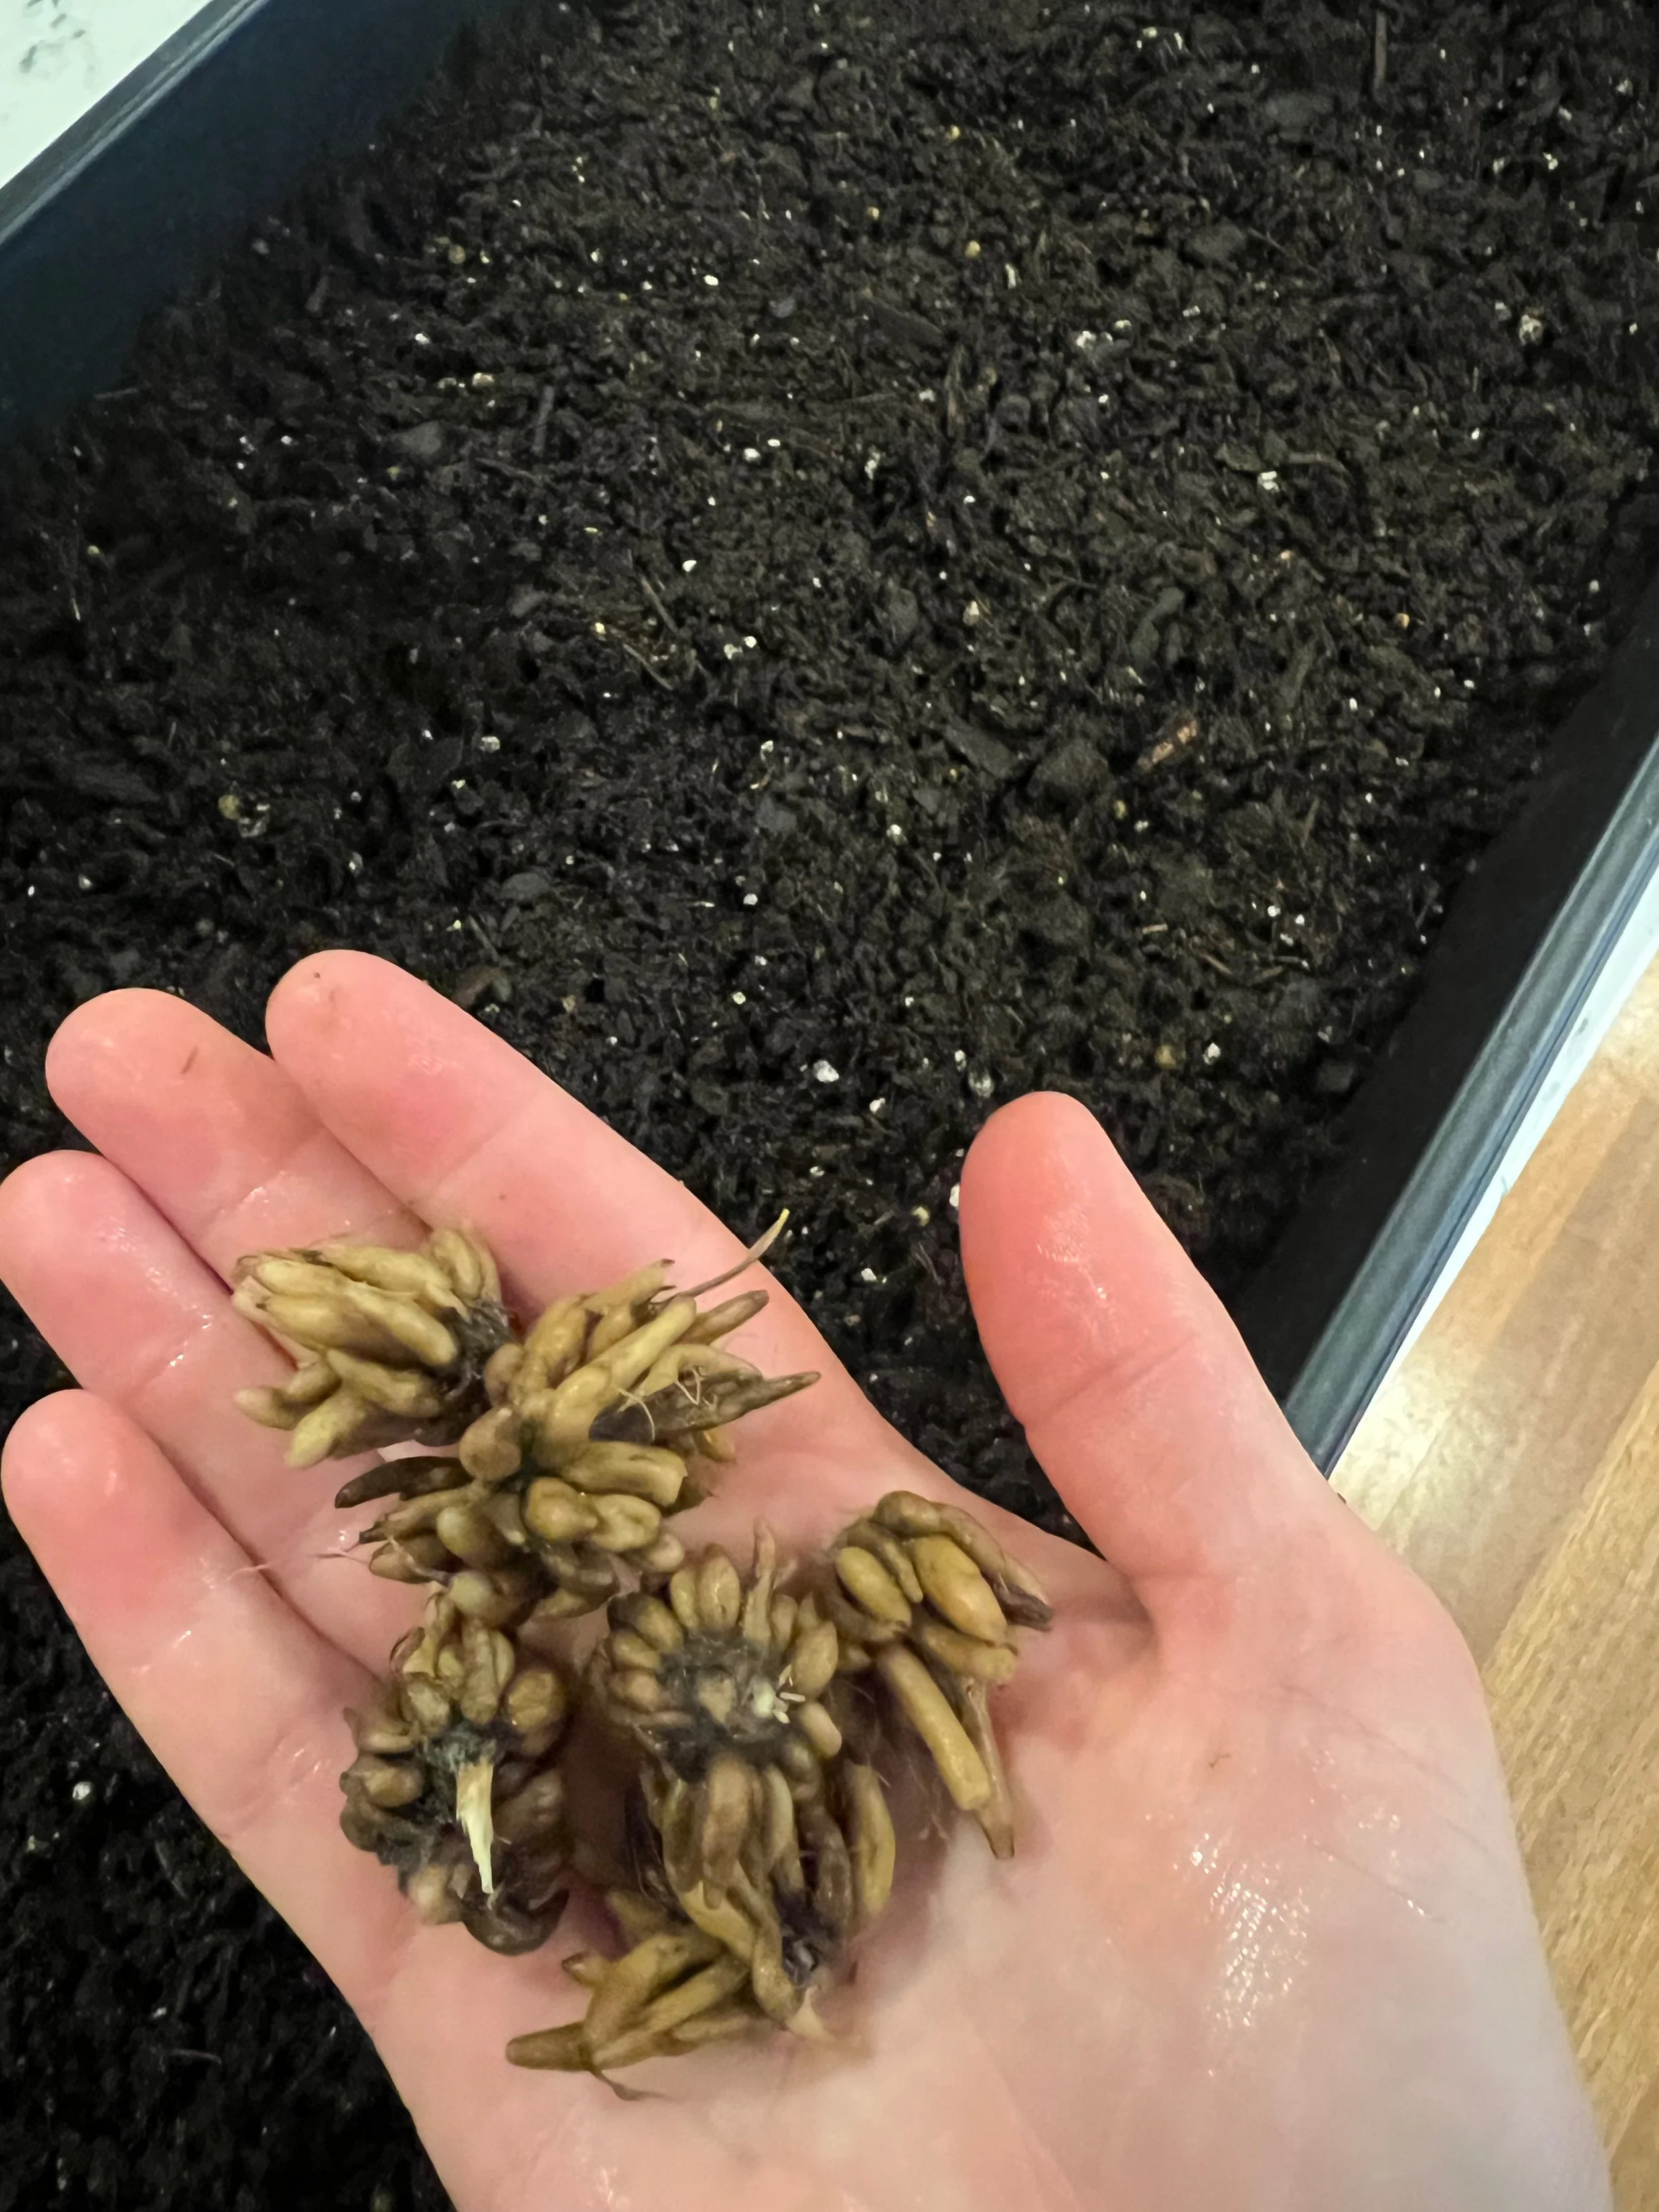
The corms in my hand have been soaked and have plumped up.
Step 2: Pre-Sprouting Indoors
After soaking, I plant the corms in trays or shallow containers filled with moist potting soil. I don’t bury them deeply - just enough to cover them. Then I tuck the trays away in a cool, dark place (like a basement or garage) to let them wake up slowly. But don’t use your garage if it drops below freezing temperatures! While they like cold, ranunculus will rot if they freeze.
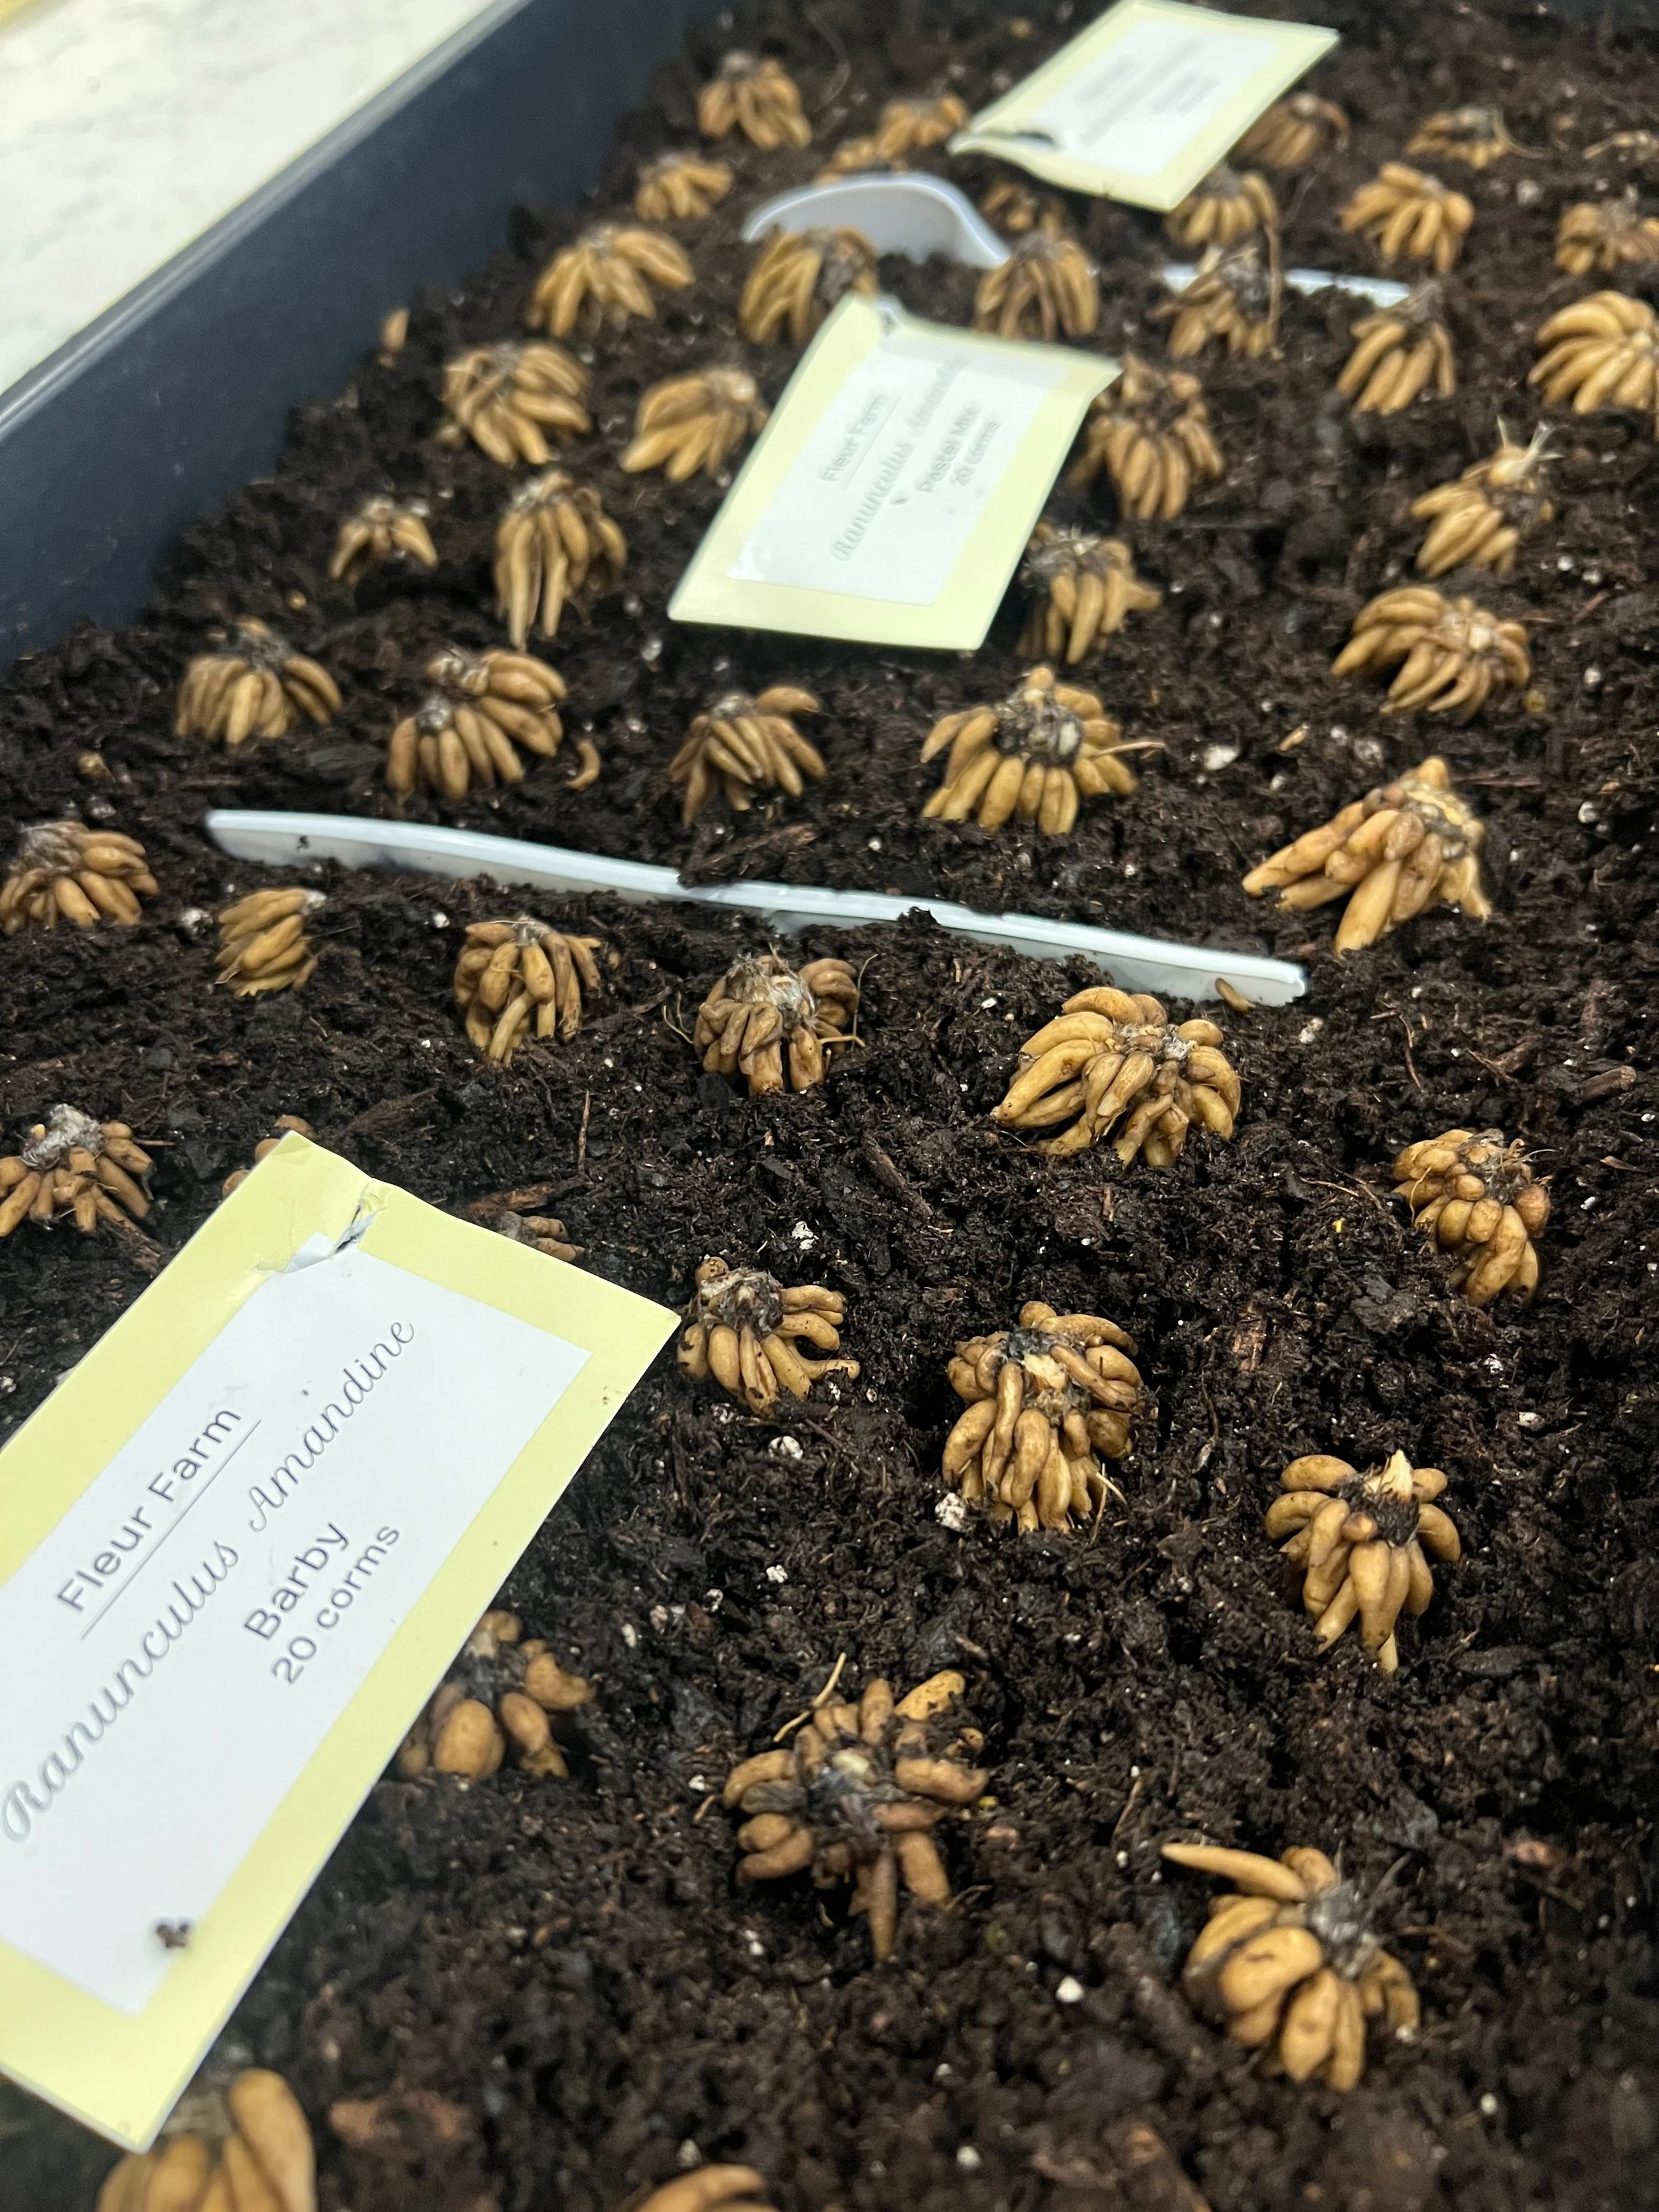
It usually takes about two weeks for roots and tiny sprouts to form, but don’t worry if it takes longer — sometimes mine take up to four weeks before they’re ready. The key is to keep the soil slightly moist but never soggy.
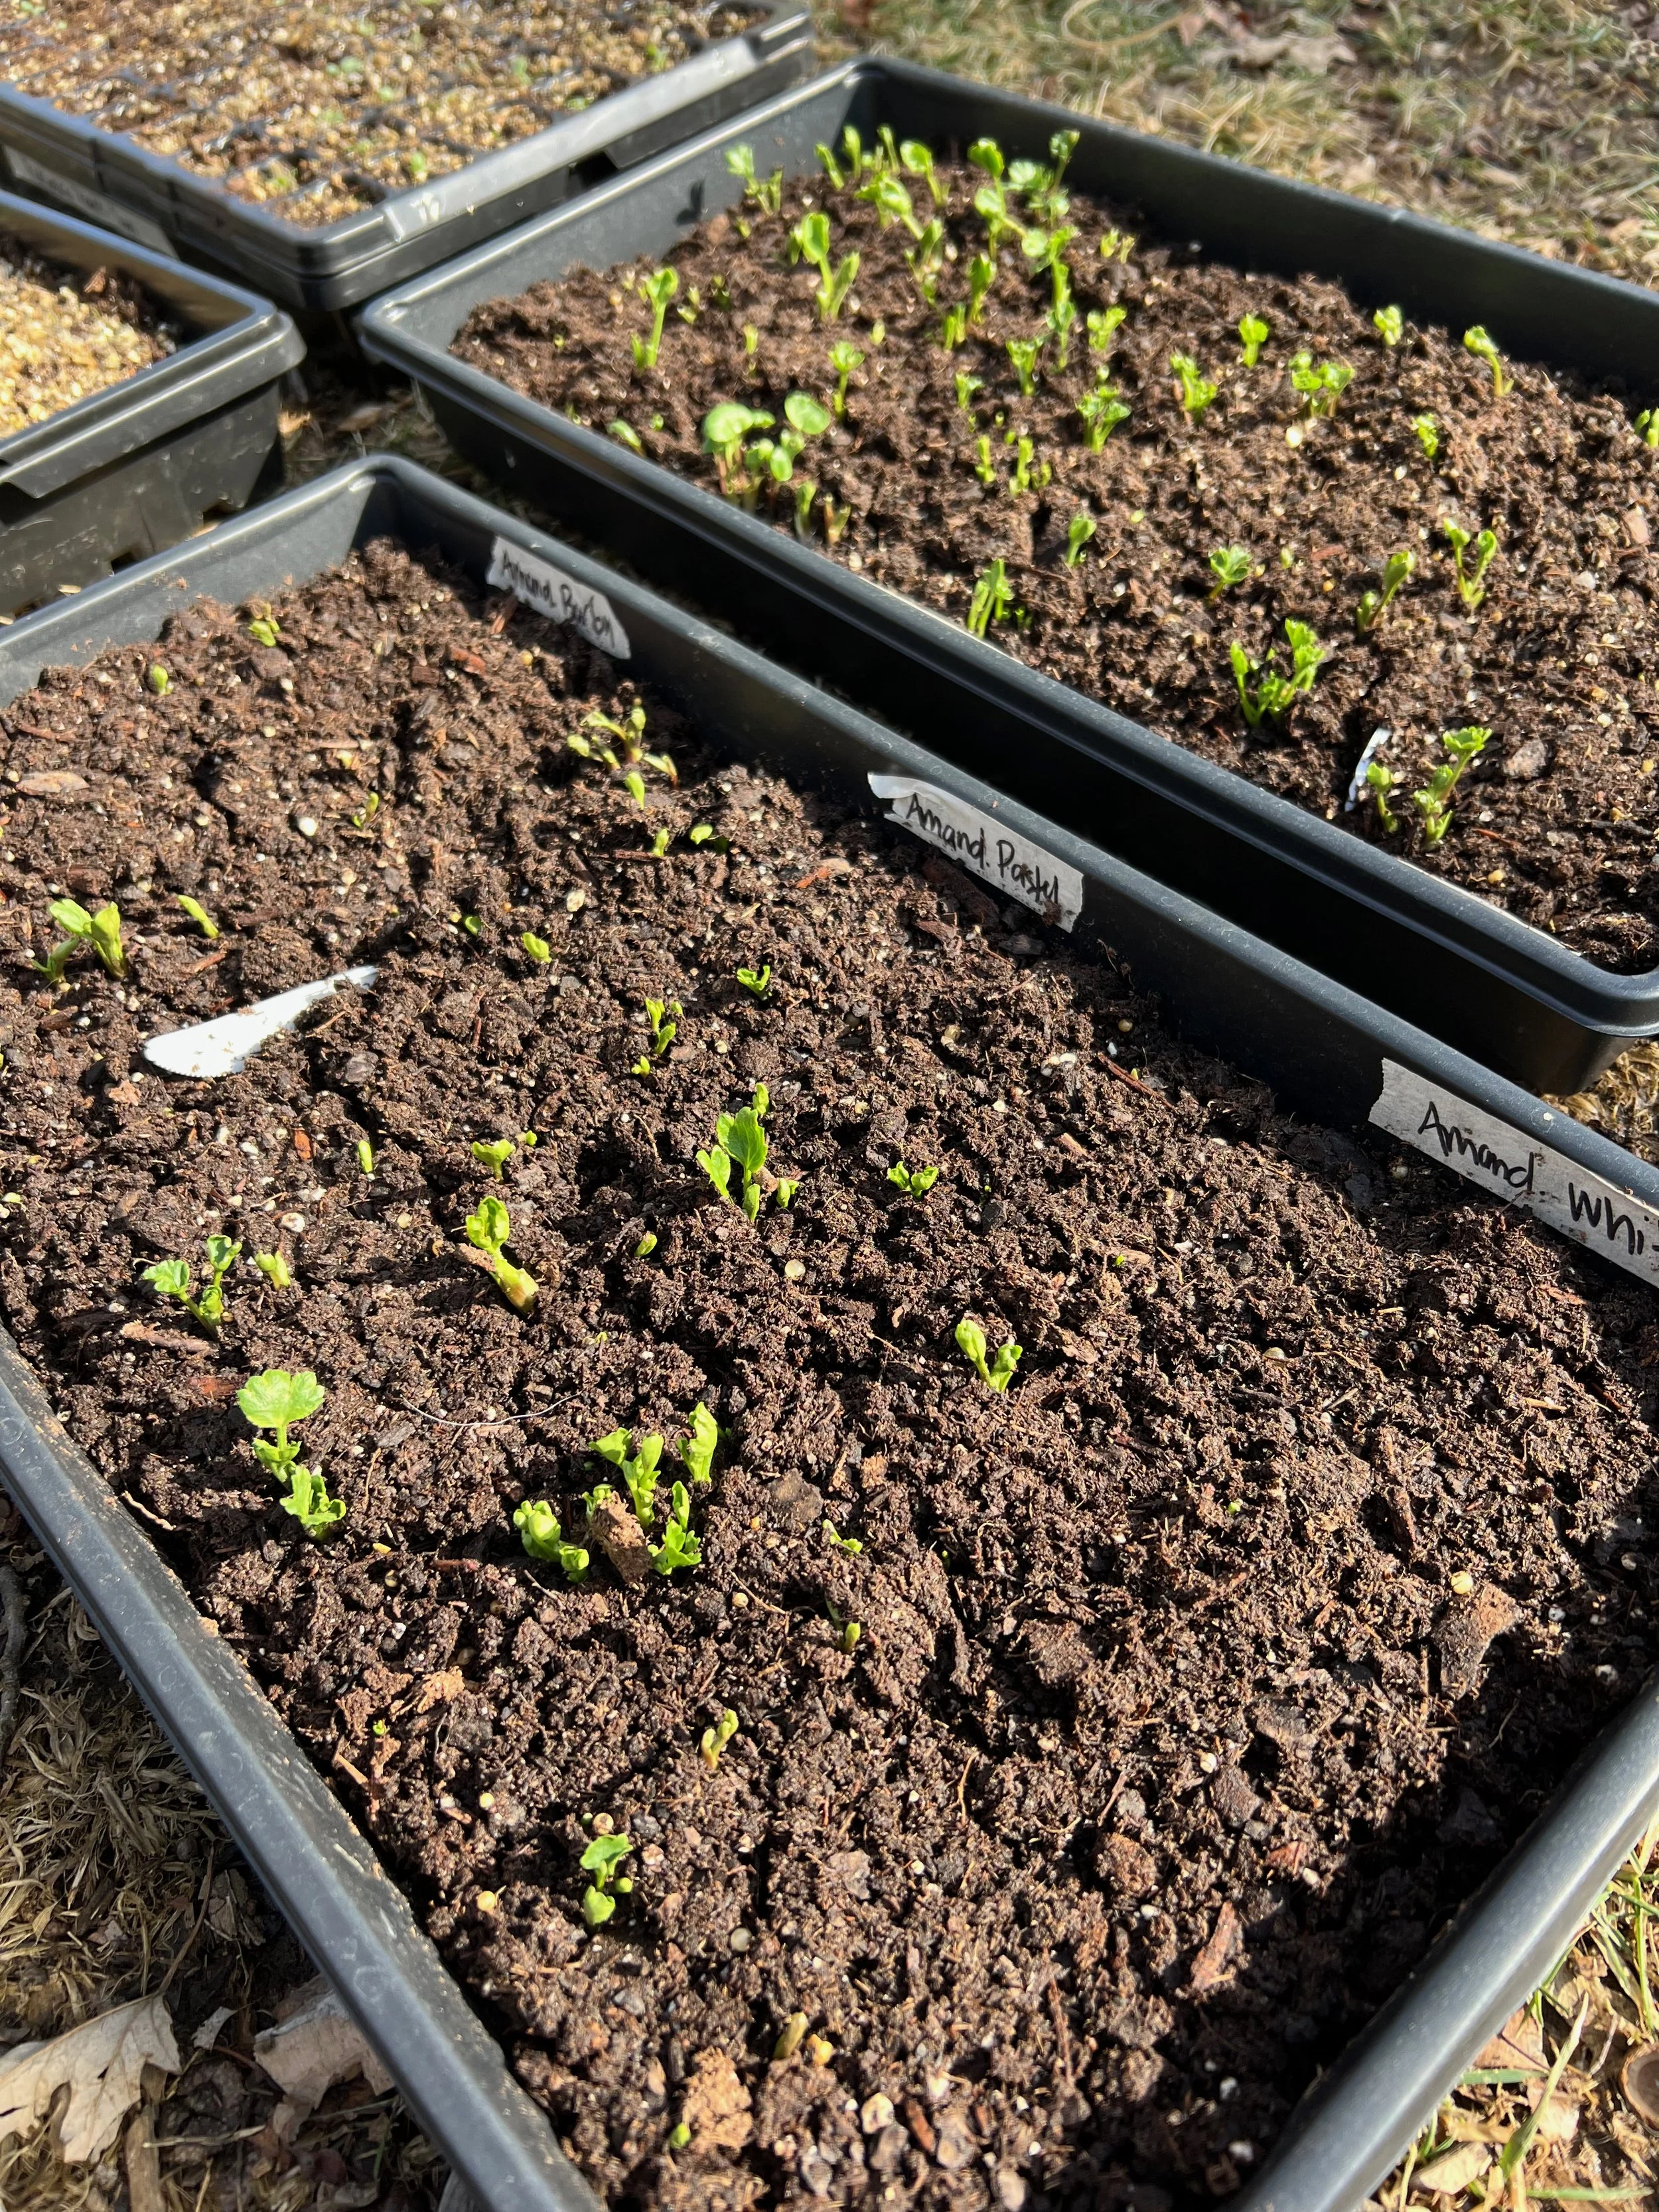
Step 3: Grow Under Lights (Optional)
Since I already have a grow room and light setup, I place my trays under lights once I see sprouts. I keep them here until I’m ready to plant out. I do this more for convenience than anything else - sometimes they sprout when I don’t have time to plant them outside, and I just need a holding place for them. If you grow them for any length of time under lights, be sure to harden them off gradually, setting them outside for a couple hours on day 1, and then leaving them out a little longer each day over the course of 5-7 days.
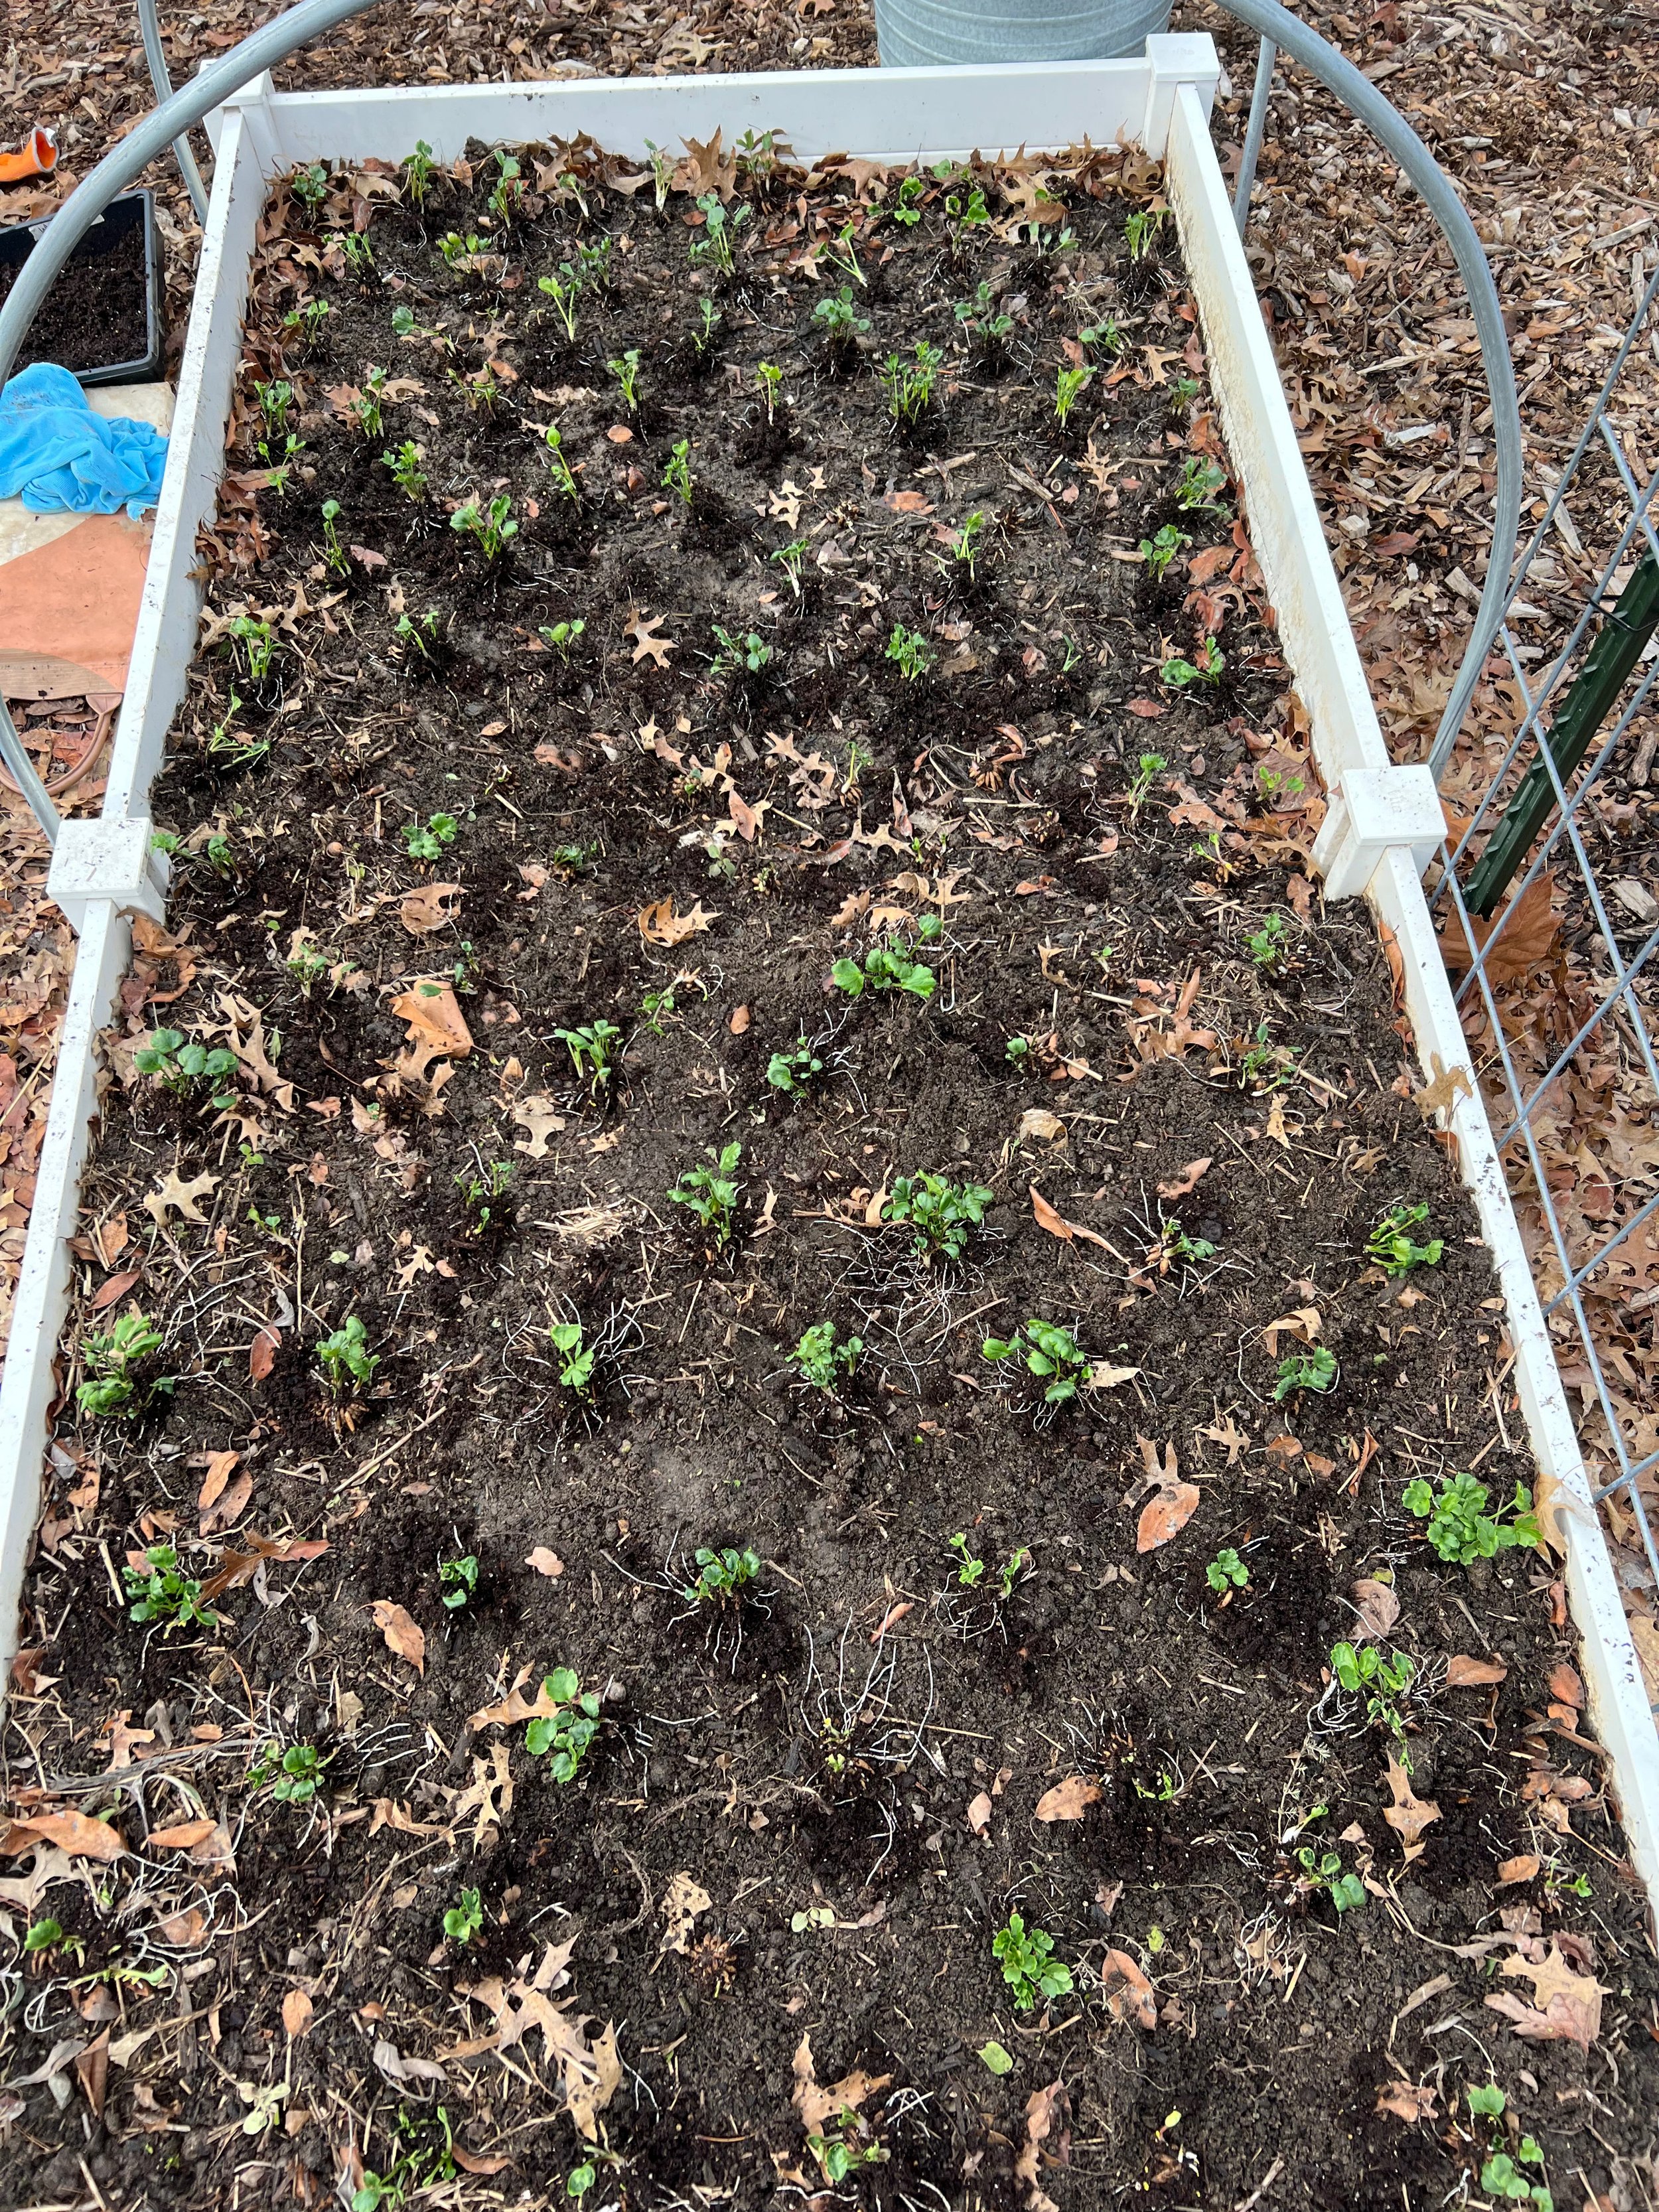
Step 4: Planting Outdoors
In late January or early February, I transplant the ranunculus into the garden. This may sound early for Missouri, but ranunculus love cool weather — and with protection, they handle it beautifully.
I choose a well-drained bed in full sun, spacing the corms about 6–8 inches apart. After planting, I cover the area with a thick layer of leaves (12-18 inches deep) for insulation.
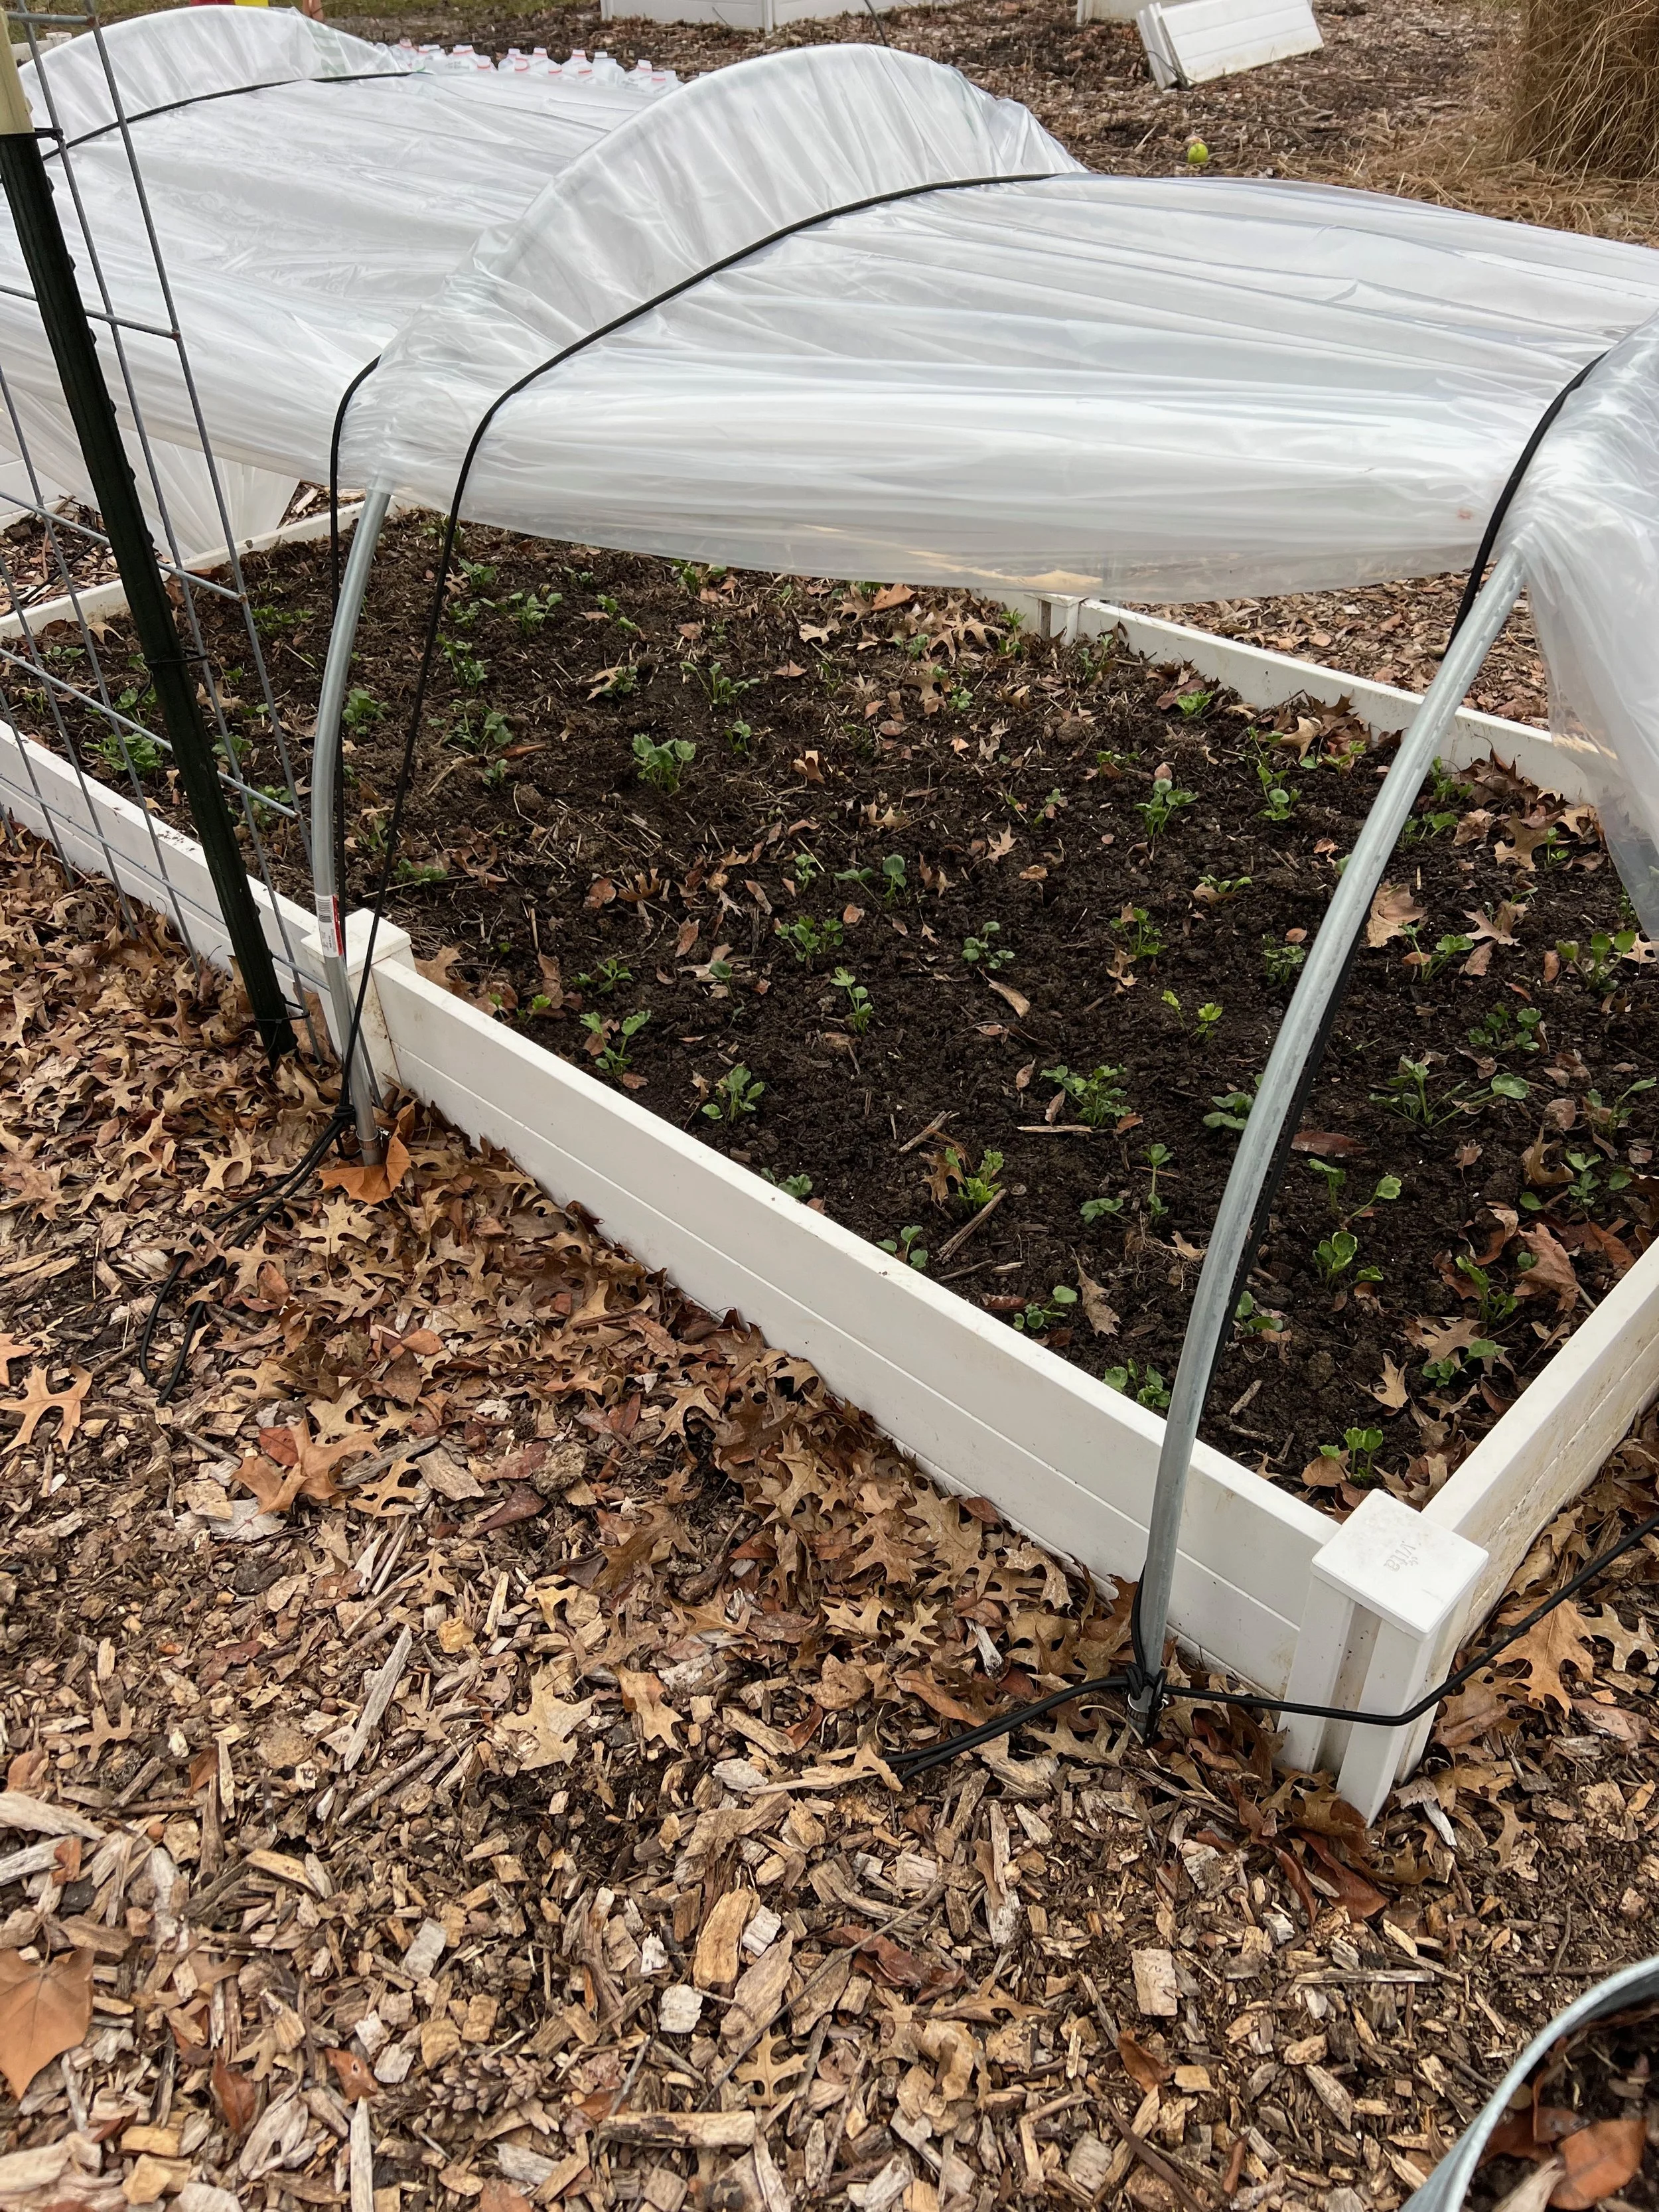
Step 5: Protecting from Frost
When temperatures dip below 30°F, I take extra precautions. I cover the plants with a blanket of frost cloth (over the layer of leaves that already cover them), and I add a low tunnel covered in greenhouse plastic over the bed. This simple setup creates a cozy microclimate that keeps the plants safe and happy through the coldest nights. While I haven’t tried it, I’ve seen other growers also use incandescent lights in their tunnels to add a little extra warmth.
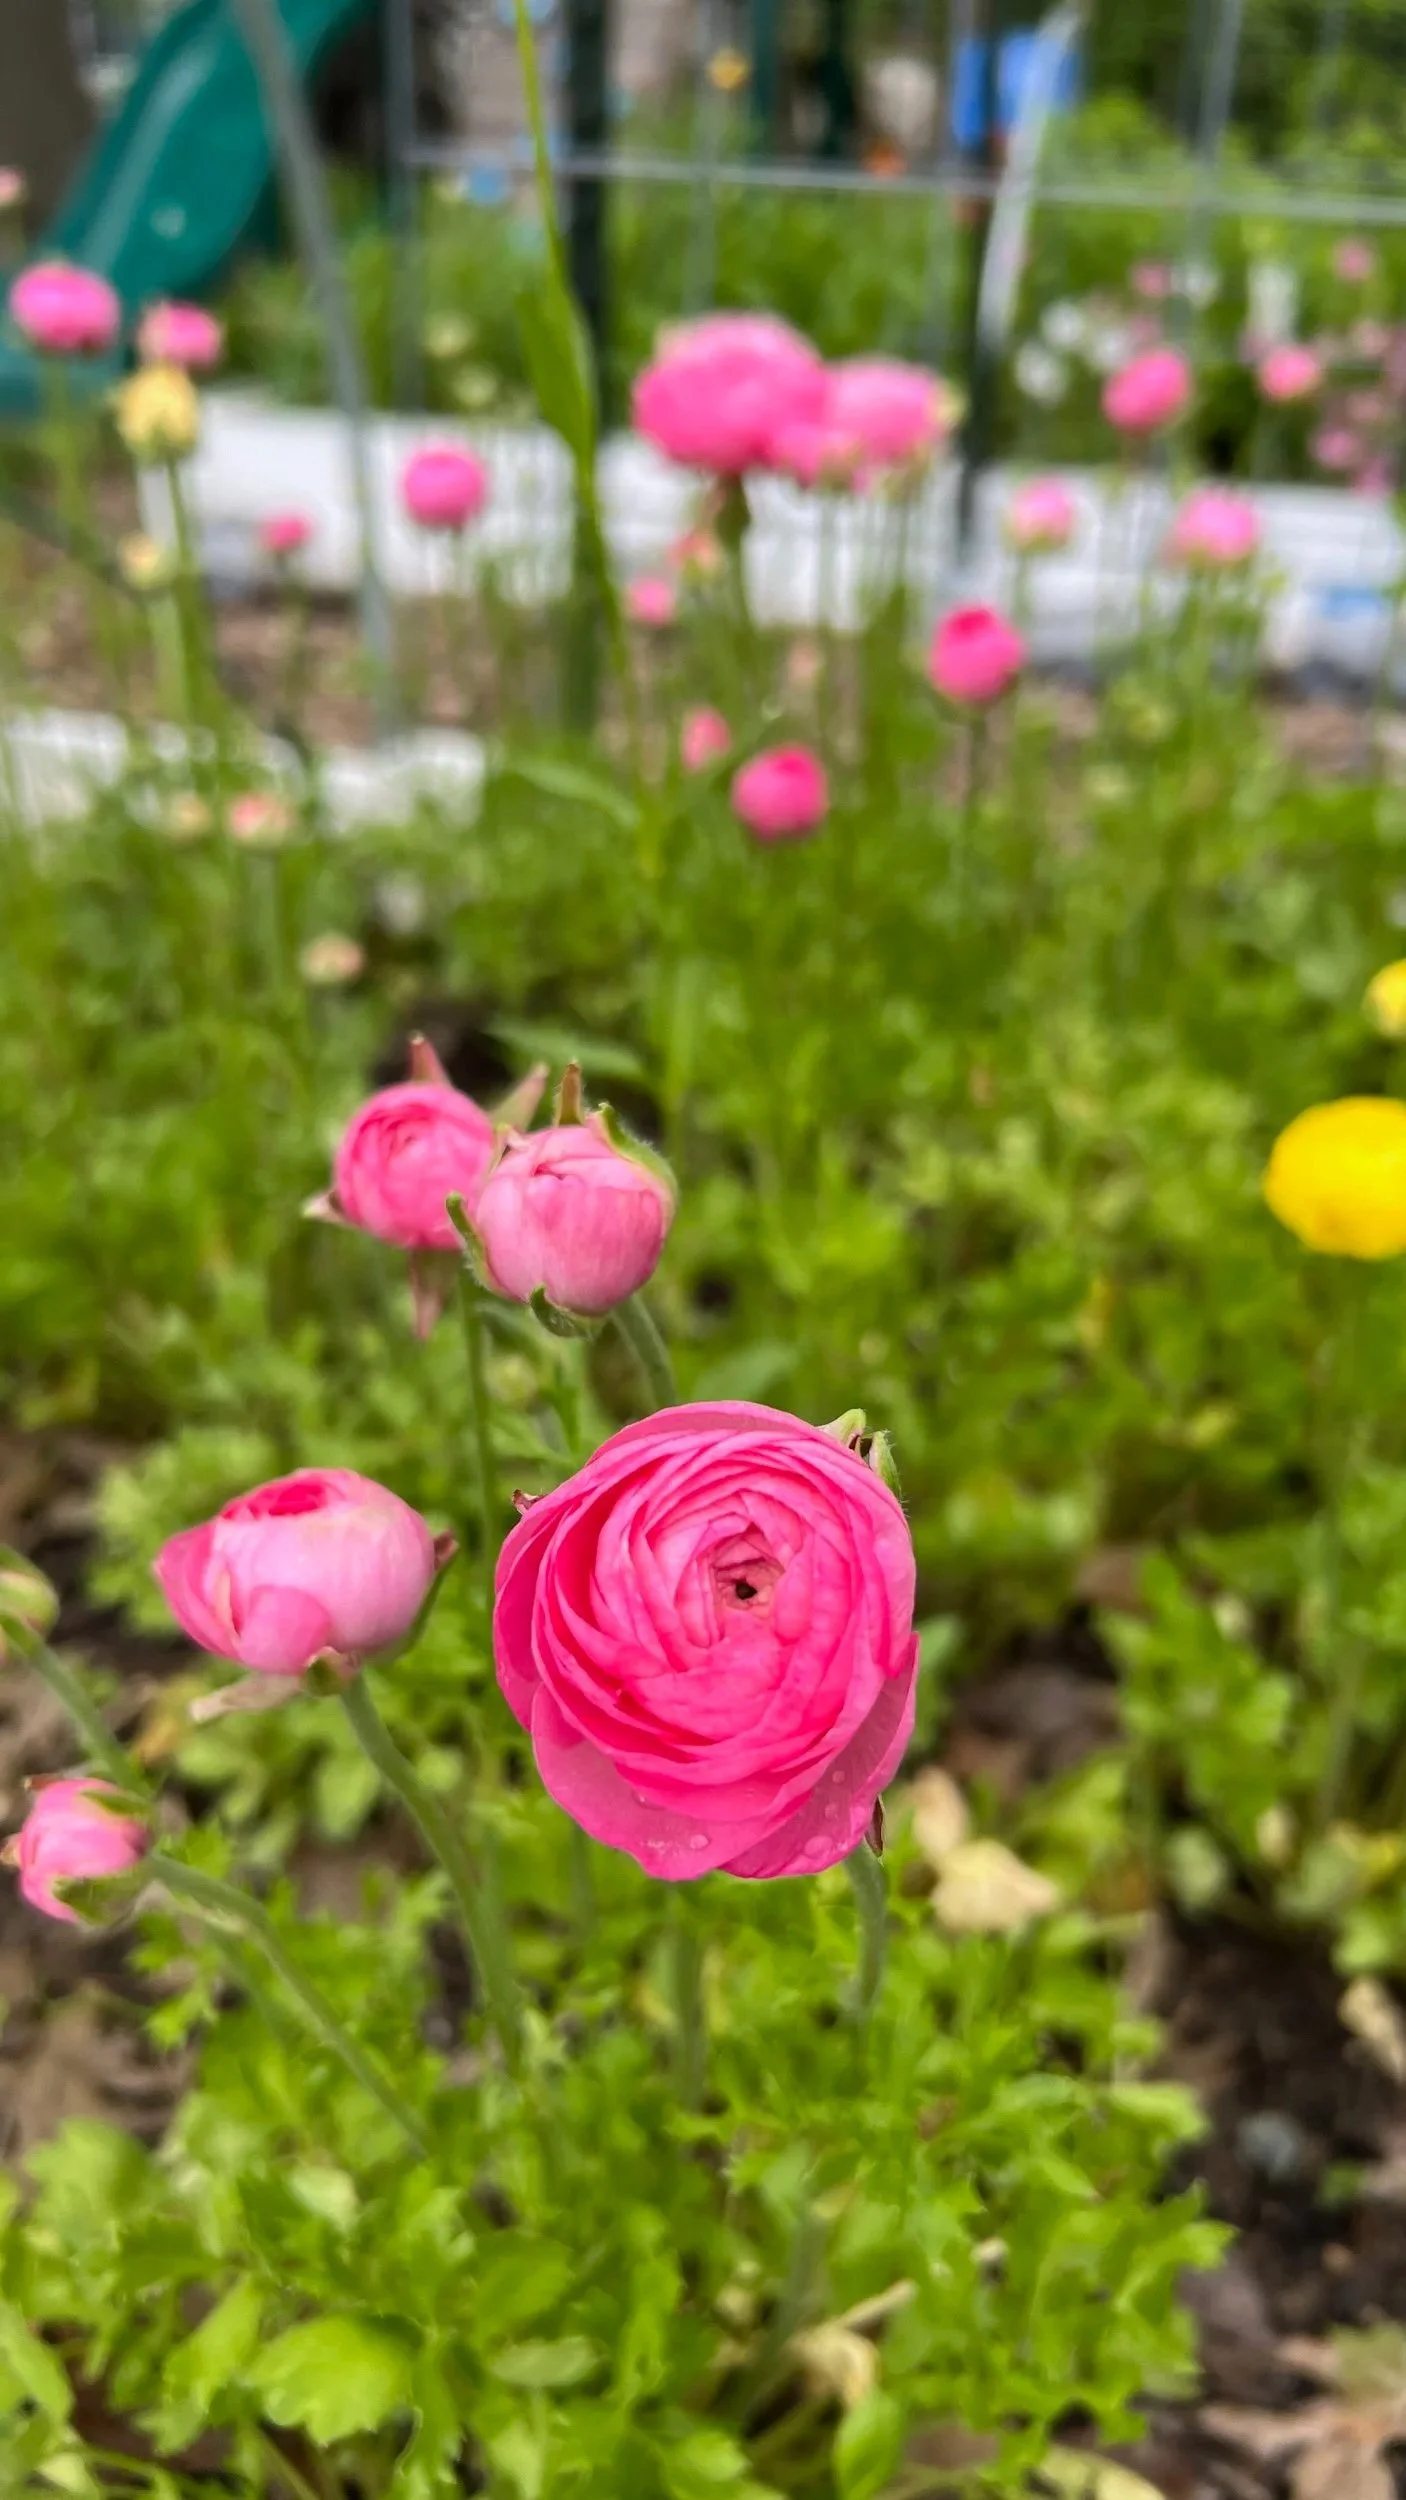
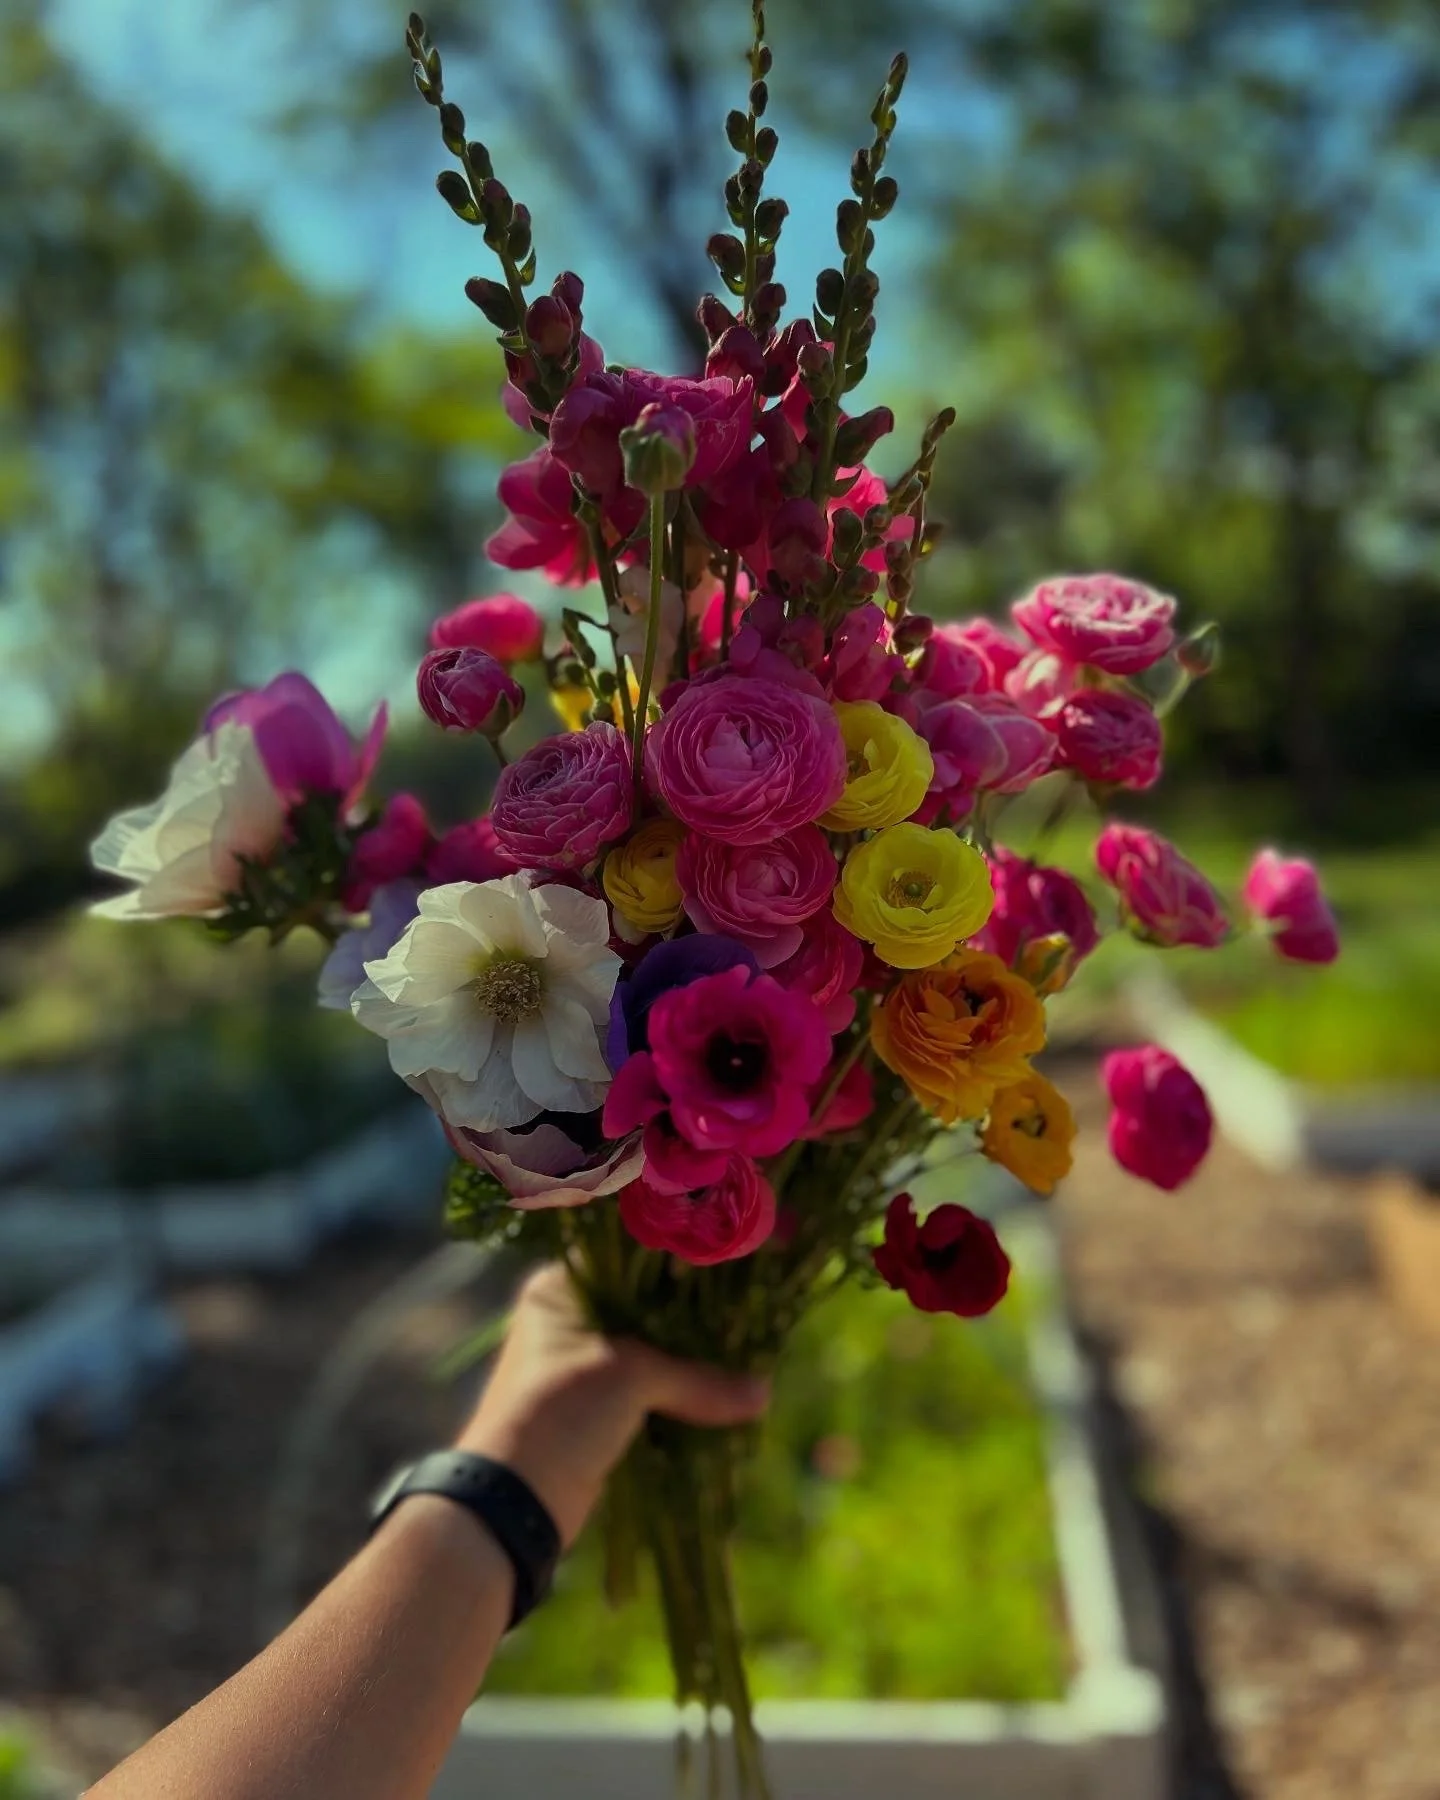
Step 6: Enjoy the Blooms
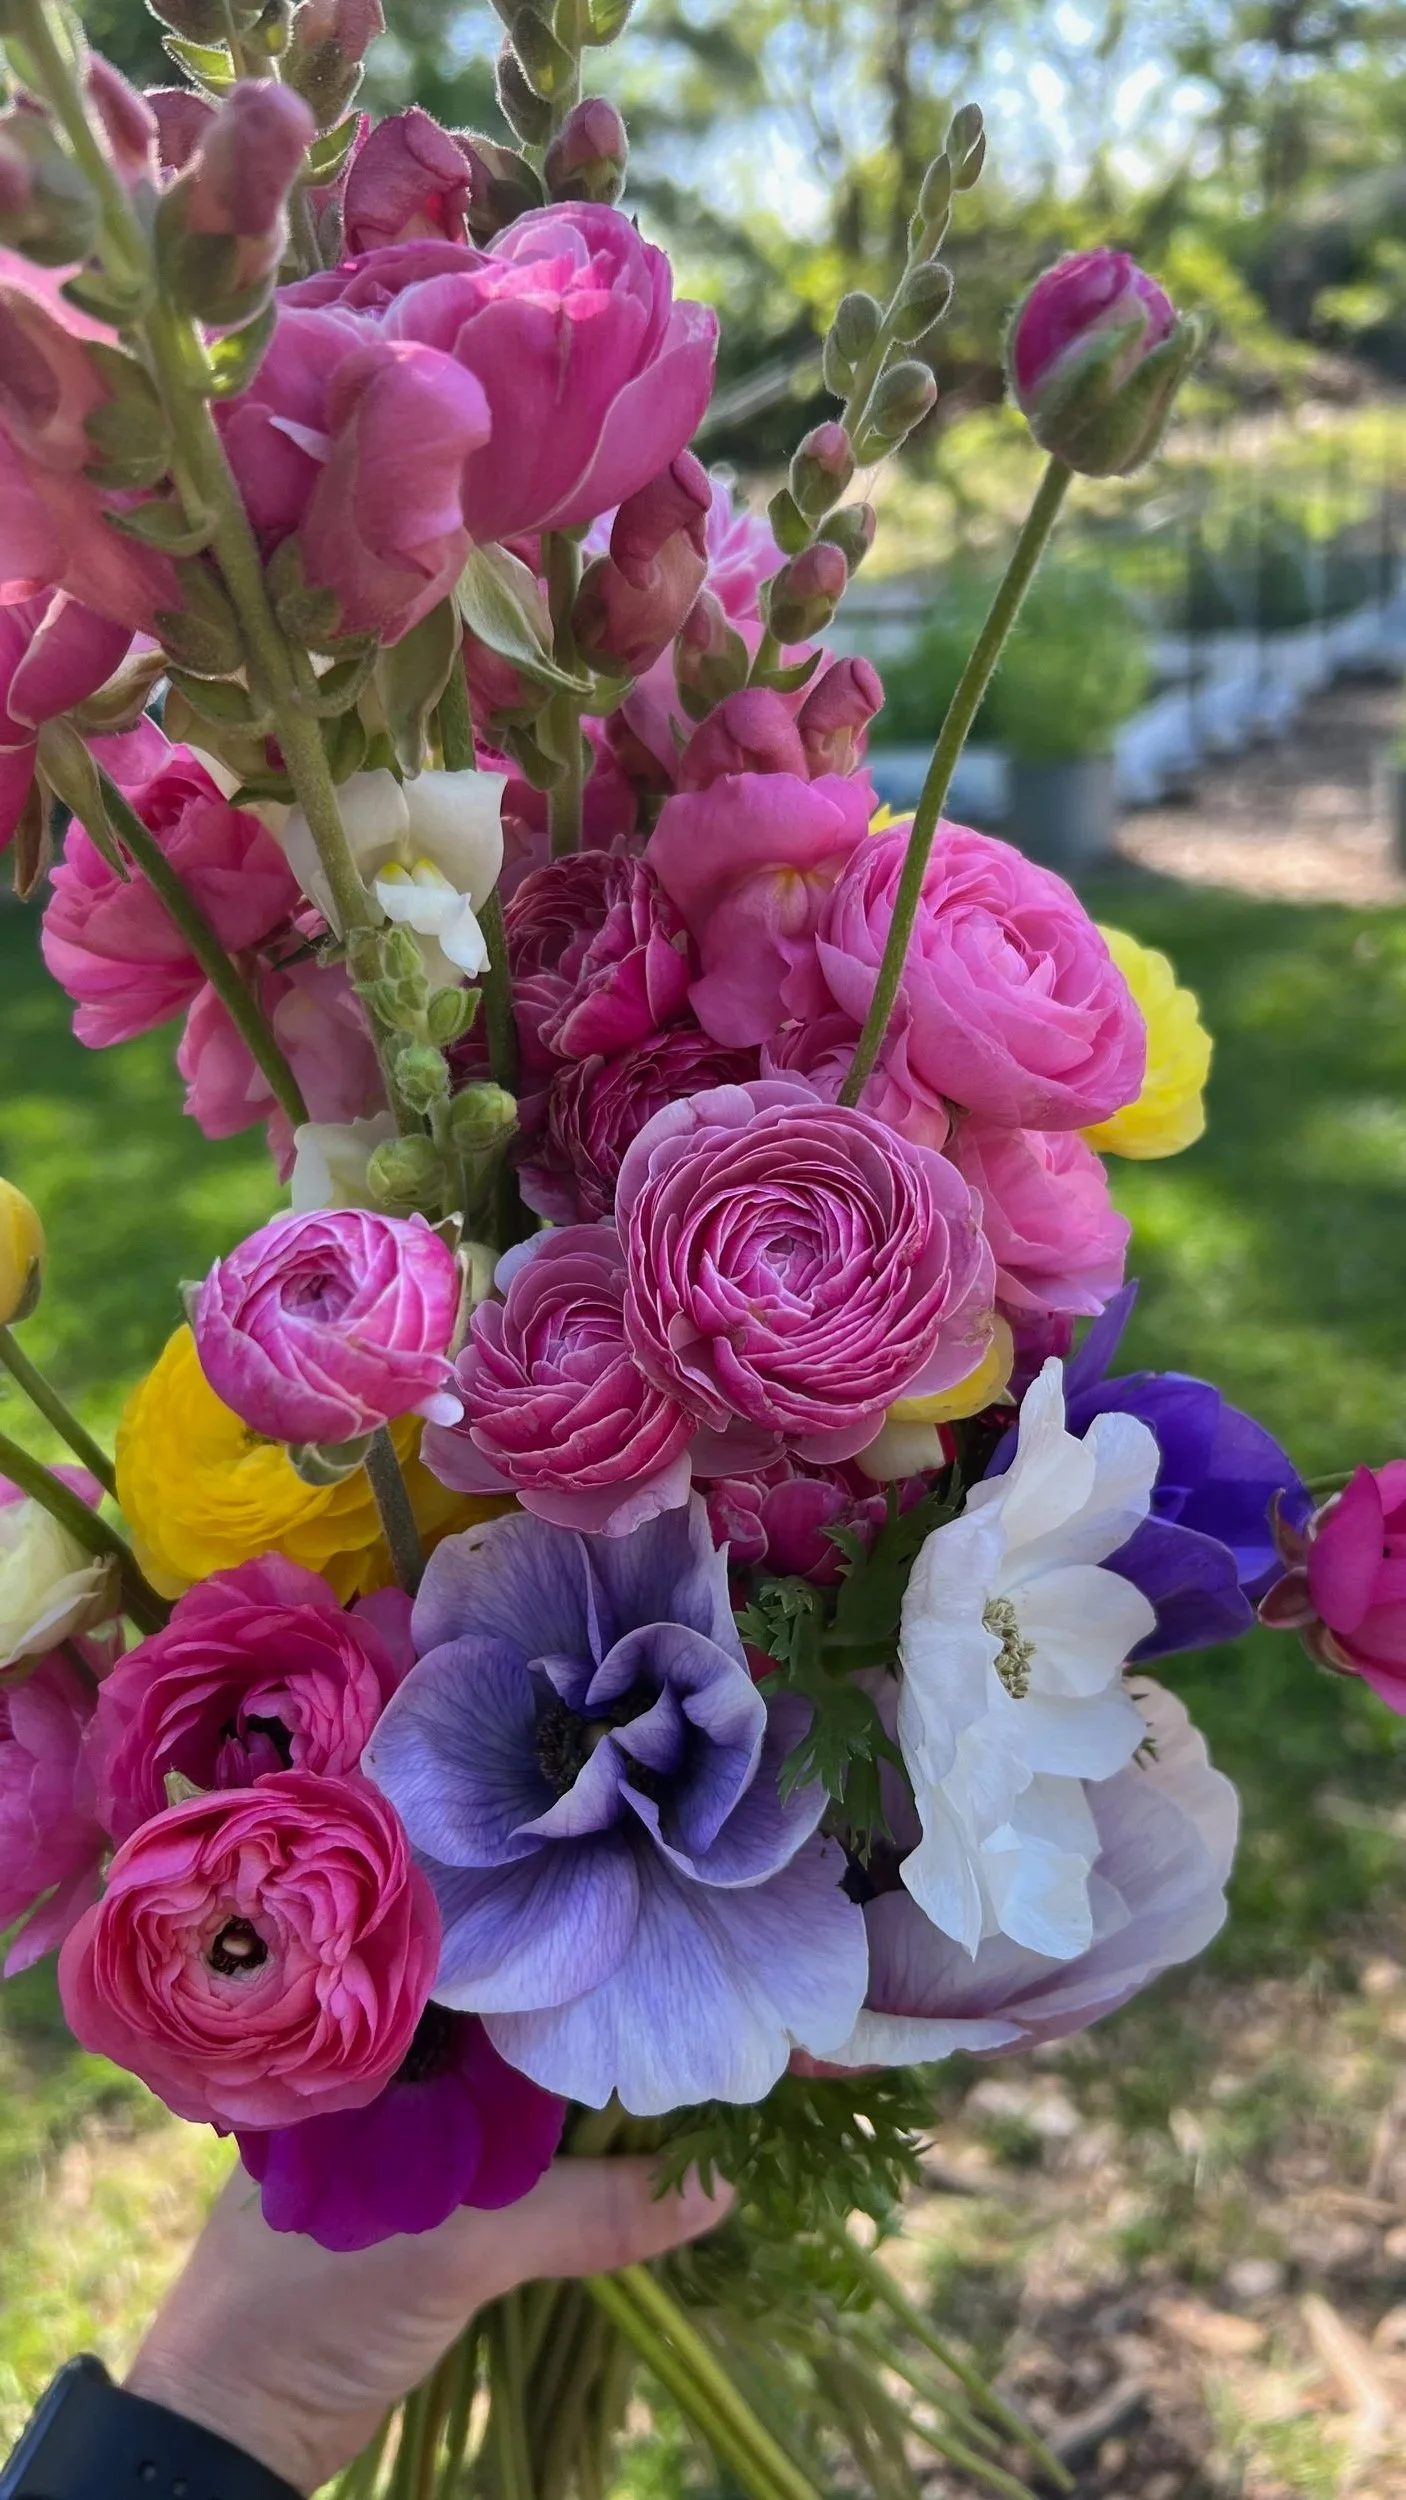
By April, the ranunculus begin to reward all that winter effort with their stunning, rose-like blooms. Harvest regularly to encourage more flowers, and enjoy their long vase life indoors — they’re truly one of the most rewarding spring crops to grow.
Tips for Success:
Avoid overwatering during pre-sprouting — soggy soil can rot corms.
Label your varieties if you’re growing multiple colors.
Growing ranunculus takes patience, but once you see those first blooms, it’s completely worth it. With a bit of care through Missouri’s unpredictable winters, you’ll be swimming in lush, romantic flowers by spring.